Brother LS-2125i Sewing Machine: A Comprehensive Guide
This guide details the Brother LS-2125i, a basic sewing machine, covering operation, maintenance, and troubleshooting․ Access the official manual online for detailed instructions․
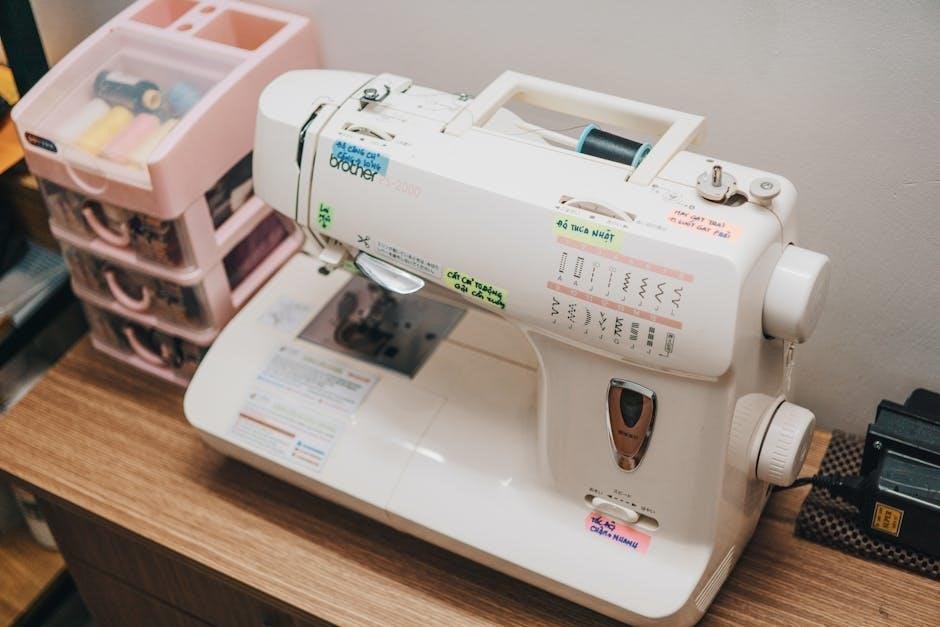
The Brother LS-2125i is a popular, lightweight sewing machine designed for beginners and those needing a reliable machine for basic sewing and mending tasks․ It’s frequently found alongside models like the LS-2220, LS-2720, LS-1520, and others within the series, sharing operational similarities․
This machine excels in straightforward projects – crafting, scrapbooking, and simple garment alterations are all within its capabilities․ A comprehensive operation manual, readily available online through resources like ManualsLib, provides detailed guidance․ Understanding this manual is key to unlocking the machine’s full potential and ensuring safe, effective use․ It’s a dependable choice for introductory sewing endeavors․
Key Features and Specifications
The Brother LS-2125i is categorized as a basic sewing and mending machine․ It boasts a selection of built-in stitch patterns, including straight and zigzag stitches, alongside useful utility stitches compatible with related models (LS-2220/2720/1520)․
While specific technical specifications aren’t prominently detailed in readily available summaries, the machine’s strength lies in its simplicity and ease of use․ It’s designed for lighter-duty projects․ The operation manual details stitch settings and applications․ Replacement parts, like the presser foot holder screw (132730-122) and presser feet (138135-122), are available through authorized dealers․
Unboxing and Initial Setup
Upon receiving your Brother LS-2125i, carefully unpack the machine and all included accessories․ Refer to the operation manual – available for download – for a complete inventory list․ Initial setup involves ensuring the power cord is securely connected, but do not power on yet․
Before threading, familiarize yourself with the machine components․ The manual provides clear diagrams․ It’s crucial to correctly wind and insert the bobbin before threading the upper thread․ Proper setup, guided by the manual, ensures smooth operation and prevents potential issues․ Always prioritize safety precautions detailed within the documentation․
Understanding the Machine Components
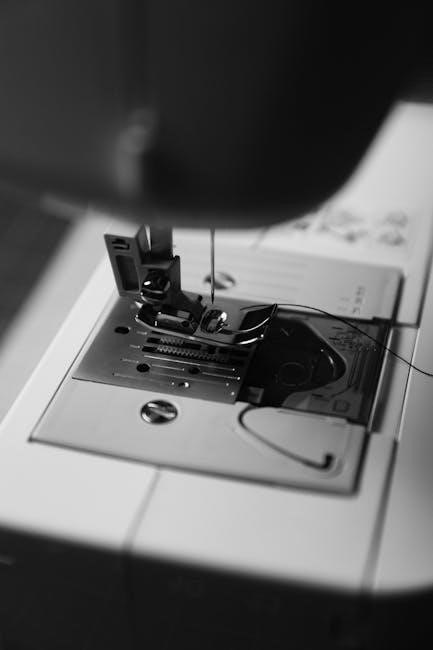
The Brother LS-2125i features several key components essential for operation․ The manual provides detailed illustrations of each part․ Understanding the presser foot and holder is vital, as they secure fabric during stitching․ Mastering bobbin winding and insertion is also crucial for a consistent stitch․
Pay close attention to the thread path, as correct threading is paramount․ The manual clearly demonstrates this process․ Proper tension control, adjustable via the machine’s dials, ensures balanced stitches․ Familiarizing yourself with these components, using the manual as a guide, will greatly enhance your sewing experience․
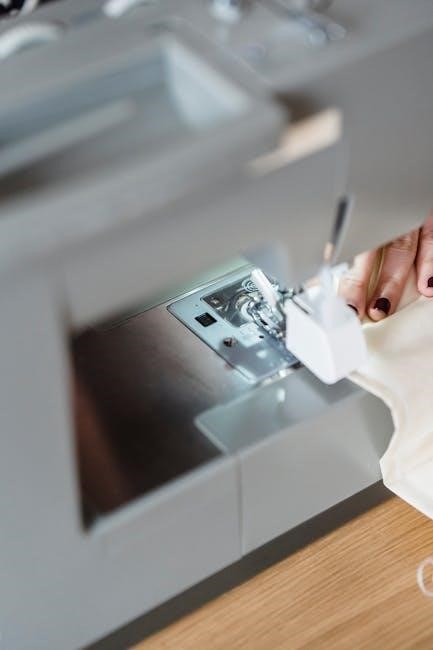
Presser Foot and Holder
The presser foot, secured by the holder, firmly presses fabric against the feed dogs during sewing․ The manual details how to correctly attach and detach the foot․ The screw of the presser foot holder (part code 132730-122) is available from authorized dealers․
Ensure the correct foot is used for your project; different feet are available for various techniques․ A replacement presser foot (part number 138135-122) can also be purchased․ Proper foot installation is vital for even stitching and preventing fabric slippage․ Refer to the manual’s diagrams for visual guidance․
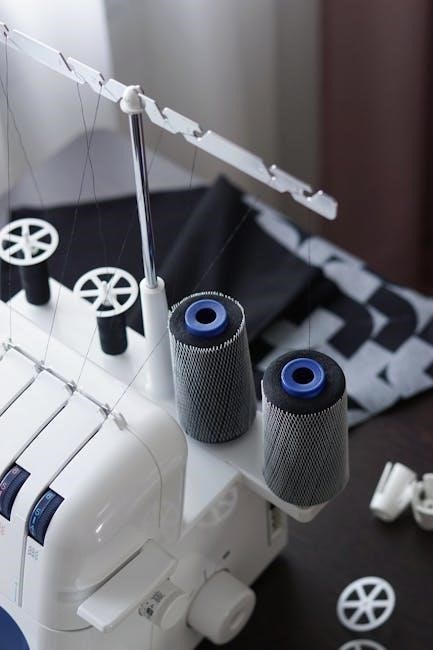
Bobbin Winding and Insertion
Proper bobbin winding is crucial for consistent stitch quality․ The Brother LS-2125i manual provides step-by-step instructions on how to wind the bobbin evenly․ Ensure the thread is guided correctly through the tension disc during winding․
Once wound, the bobbin is inserted into the bobbin case, following the diagram in the manual․ Correct insertion ensures smooth thread flow․ Incorrect bobbin placement can cause skipped stitches or tangling․ Always use a compatible bobbin type for optimal performance and refer to the manual for guidance․
Thread Path and Tension Control
Following the correct thread path, as illustrated in the Brother LS-2125i manual, is essential for proper stitching․ Guide the thread through each guide and tension disc in the specified order․ Incorrect threading leads to inconsistent tension and poor stitch formation․
Adjusting the thread tension is vital for achieving balanced stitches․ The manual details how to adjust the tension dial based on fabric type and thread weight․ Too much tension causes puckering, while too little results in looping․ Experimentation, guided by the manual, ensures optimal tension․
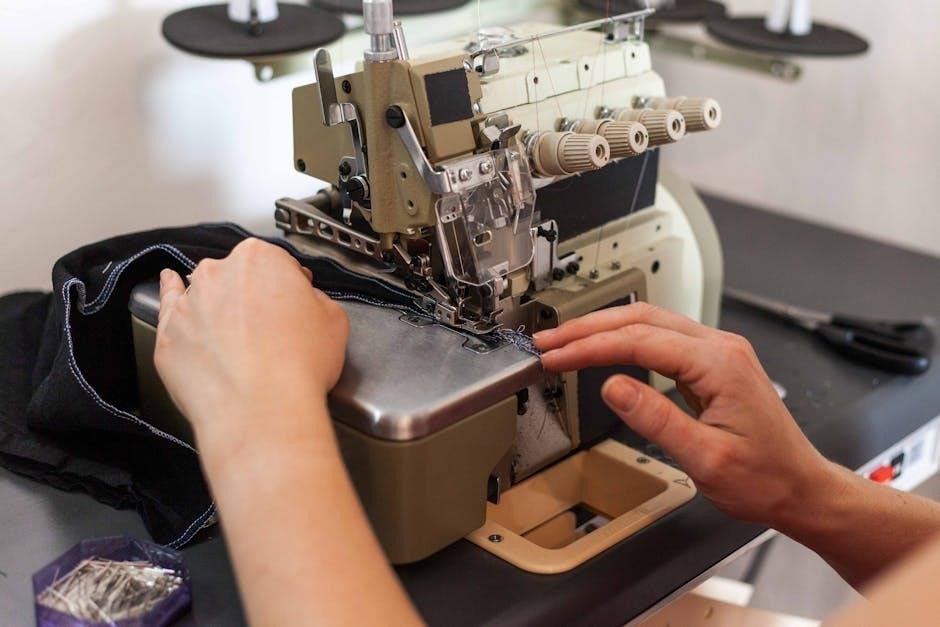
Basic Operation: Getting Started
Before beginning, ensure the machine is properly set up – threaded, bobbin inserted, and power connected․ The Brother LS-2125i manual provides step-by-step instructions for these initial steps․ Familiarize yourself with the power switch location and the stitch selection dial․
Begin with practice fabric scraps to test stitch settings․ Refer to the manual for guidance on selecting basic stitch patterns․ Understanding the machine’s controls and practicing before tackling projects builds confidence and ensures successful sewing․ Always prioritize safety and follow the manual’s precautions․
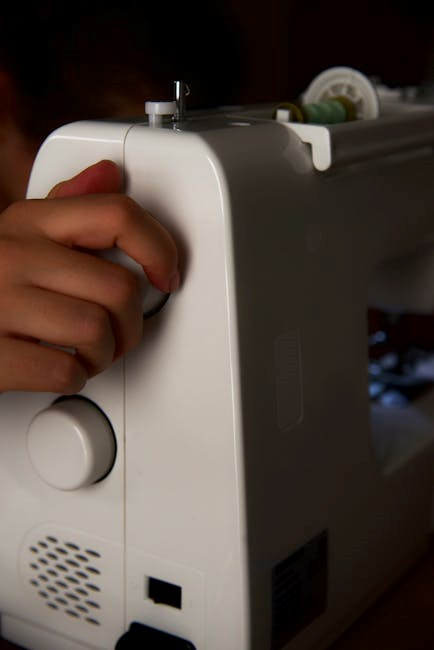
Powering On and Selecting Stitch Patterns
To power on the Brother LS-2125i, locate the power switch – typically found on the side of the machine․ Once on, the machine is ready for stitch selection․ The stitch pattern dial allows you to choose from various stitches, including straight, zigzag, and utility options․
Consult the machine’s manual for a detailed diagram of the stitch patterns and their corresponding dial settings․ Experiment with different stitches on scrap fabric to understand their applications․ Adjust stitch length and width using the designated dials for customized results․
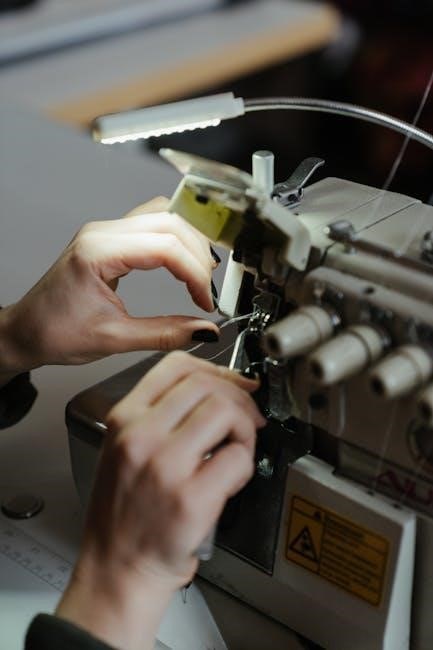
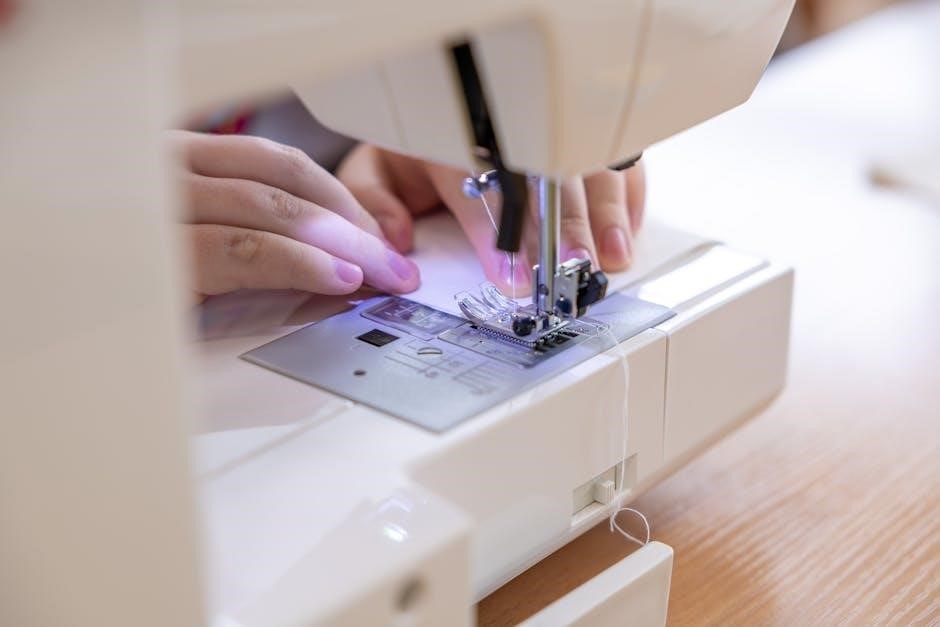
Threading the Machine (Step-by-Step)
Begin by raising the presser foot, which releases thread tension․ Guide the thread from the spool pin, through the first thread guide, and then down to the tension discs – ensuring it’s securely seated between them․ Next, lead the thread through the take-up lever and down to the needle clamp․
Thread the needle from front to back․ Finally, draw a sufficient length of thread through the needle eye․ Proper threading is crucial for consistent stitch formation․ Refer to the manual’s diagrams for visual guidance, ensuring each step is followed correctly․
Winding the Bobbin
Begin by placing the spool of thread onto the spool pin․ Guide the thread through the bobbin winding tension disc and then onto the bobbin․ Secure the bobbin onto the bobbin winder spindle․ Engage the bobbin winder by pushing it to the right․
Press the foot pedal gently to start winding․ Allow the bobbin to fill evenly, stopping when nearly full․ Disengage the bobbin winder and remove the bobbin․ Insert the wound bobbin into the bobbin case, ensuring it clicks into place․ Correct bobbin winding is vital for smooth sewing․
Stitch Selection and Adjustment
The Brother LS-2125i offers a variety of stitches, selected using the stitch selection dial․ This machine is compatible with utility stitches found on models LS-2220, LS-2720, LS-1520, LS-2125, and LS-2125i․ Adjust stitch length and width using the corresponding dials, experimenting to achieve desired results․
Understanding these adjustments is key to successful projects․ Straight stitches are ideal for seams, while zigzag stitches are perfect for finishing raw edges or creating decorative effects․ Refer to the manual for specific settings for different fabrics and applications․
Straight Stitch – Applications and Settings
The straight stitch is the most fundamental stitch on the Brother LS-2125i, perfect for constructing garment seams, topstitching, and basting․ For standard woven fabrics, a stitch length of 2․5mm is a good starting point․ Heavier fabrics may require a slightly longer stitch length, around 3․0-3․5mm, to ensure secure seams․
Always test the stitch on a scrap of your project fabric before beginning․ Adjust the stitch length dial to fine-tune the appearance and strength of the seam․ Consistent tension is crucial for a neat, even straight stitch․
Zigzag Stitch – Applications and Settings

The zigzag stitch on the LS-2125i offers versatility beyond simple seams․ It’s ideal for finishing raw edges to prevent fraying, creating decorative embellishments, and sewing stretch fabrics․ Stitch width and length are adjustable; a narrower width (1․5-2․0mm) and medium length (2․0-2․5mm) work well for edge finishing․
For stretch fabrics, a slightly wider zigzag (2․5-3․0mm) allows for greater give․ Experiment with different widths and lengths on scrap fabric to achieve desired effects․ Proper tension is vital for a balanced zigzag stitch, avoiding puckering or loose threads․
Utility Stitches (LS-2220/2720/1520/2125/2125i compatibility)
The Brother LS-2125i, along with models LS-2220, LS-2720, LS-1520, shares a common set of utility stitches․ These include variations of zigzag for stretch fabrics and overcasting, plus buttonhole stitches for creating functional closures․ Refer to your machine’s manual appendix for specific stitch diagrams and recommended settings․
Understanding these shared features simplifies operation and troubleshooting across compatible models․ Always test stitch settings on scrap fabric before applying them to your project․ Correct tension and stitch length are crucial for optimal results with each utility stitch․
Maintenance and Troubleshooting
Regular maintenance ensures your Brother LS-2125i operates smoothly․ Cleaning lint from the bobbin area and feed dogs is essential after each use․ Replace the needle frequently – a dull needle causes skipped stitches and fabric damage․ Consult the manual for detailed cleaning instructions and recommended needle types․
Common issues include thread bunching and skipped stitches․ These often stem from incorrect threading, improper tension, or a bent needle․ Refer to the troubleshooting section of the manual for solutions․ Always unplug the machine before performing any maintenance or repairs․
Cleaning the Machine
Consistent cleaning is vital for optimal performance․ Always unplug the Brother LS-2125i before cleaning․ Use a soft brush to remove lint and dust from the bobbin area, feed dogs, and surrounding components․ A small vacuum cleaner attachment can also be helpful․ Avoid using liquids directly on the machine; instead, dampen a cloth with a mild cleaning solution and wipe surfaces gently․
Pay close attention to the needle plate and shuttle hook, as lint accumulates quickly․ Regular cleaning prevents jams and ensures smooth fabric feeding․ Refer to your manual for specific cleaning recommendations and diagrams․
Replacing the Needle
A dull or damaged needle can cause skipped stitches and fabric damage․ Always unplug the machine before changing the needle․ Loosen the needle clamp screw and remove the old needle․ Insert a new needle with the flat side facing the back of the machine․ Ensure the needle is fully inserted and tighten the clamp screw securely․
Use the correct needle type and size for your fabric․ Refer to your Brother LS-2125i manual for guidance․ Regularly inspect the needle for bends or damage, and replace it as needed to maintain sewing quality and prevent machine issues․
Common Problems and Solutions
Skipped stitches often indicate a dull or incorrectly inserted needle․ Re-thread the machine and ensure the needle is properly seated․ Thread bunching under the fabric suggests incorrect tension; adjust the top tension dial․ If the machine jams, stop immediately, raise the presser foot, and carefully remove the fabric․
For consistent issues, consult the Brother LS-2125i manual․ Regularly cleaning lint buildup prevents many problems․ If issues persist, contact an authorized Brother service center for professional assistance and repair․
Safety Precautions
Always disconnect the power supply before cleaning or changing the needle․ Never operate the machine with a damaged cord or plug․ Keep fingers away from moving parts, especially the needle and presser foot, to prevent injury․ Do not force the fabric under the needle; let the machine feed it naturally․
The manual emphasizes basic safety precautions․ Supervise children when near the machine․ Avoid using the machine in damp environments․ Regularly inspect all parts for wear and tear, and replace them as needed to maintain safe operation․
Accessories and Optional Presser Feet
The Brother LS-2125i typically includes standard accessories for basic sewing tasks․ However, expanding your capabilities is possible with optional presser feet․ These feet enhance functionality for specialized projects like zippers, buttonholes, or decorative stitching․
Authorized dealers can supply a replacement for the factory-installed presser foot (Part number: 138135-122)․ The screw for the presser foot holder (Part code: 132730-122) is also available․ Exploring these additions unlocks a wider range of creative sewing possibilities beyond basic mending․
Finding Replacement Parts
Maintaining your Brother LS-2125i sometimes requires replacing worn or damaged parts․ Fortunately, obtaining replacements is straightforward․ The crucial screw for the presser foot holder is readily available through authorized Brother dealers, identified by Part code 132730-122․
Similarly, a replacement for the standard, factory-installed presser foot can be sourced from authorized dealers, using Part number 138135-122․ Always verify compatibility with your specific LS-2125i model when ordering․ Utilizing genuine Brother parts ensures optimal performance and longevity for your sewing machine․
Presser Foot Holder Screw (Part code: 132730-122)
The presser foot holder screw, identified by part code 132730-122, is a small but vital component of the Brother LS-2125i․ This screw securely fastens the presser foot to the machine, ensuring proper fabric feeding and stitch formation․ If lost or damaged, replacing it is essential for continued operation․
Authorized Brother dealers are the recommended source for this specific part․ Attempting to use an incorrect screw could damage the machine or compromise stitch quality․ Maintaining a spare screw can minimize downtime and keep your LS-2125i functioning smoothly․
Replacement Presser Feet (Part number: 138135-122)
A replacement for the factory-installed presser foot, designated by part number 138135-122, is readily available through authorized Brother dealers․ While the standard foot handles many tasks, specialized presser feet expand the LS-2125i’s capabilities․ These can include options for zippers, buttonholes, or decorative stitching․
Using the correct presser foot ensures optimal results for different fabrics and techniques․ Always consult your machine’s manual to confirm compatibility before purchasing․ Maintaining a selection of presser feet unlocks the full potential of your Brother sewing machine, enhancing project versatility․
Applications: Projects for Beginners
The Brother LS-2125i excels at basic sewing tasks, making it ideal for beginners․ Perfect projects include simple mending like patching clothes or hemming pants․ Beginners can also create easy crafts like pillowcases, tote bags, or simple quilted items․ Straight stitches and zigzag stitches are sufficient for these introductory projects․
Scrapbooking and crafting are also well-suited to this machine’s capabilities․ Starting with small, manageable projects builds confidence and sewing skills․ Remember to consult the manual for stitch settings and fabric recommendations to achieve the best results․